
I also posted this guide as a wiki entry on the BeEF project page here.
Installing BeEF on a Windows System might be a bit confusing for some users: There is not a typical windows installer where you click "Next Next Finish" and then everything works. You need to perform a series of manual steps to get BeEF to work and there can be some strange problems along the way.
This article tries to explain one way of doing this which worked for me.
The first step is to install ruby. You can download ruby for windows from this URL:
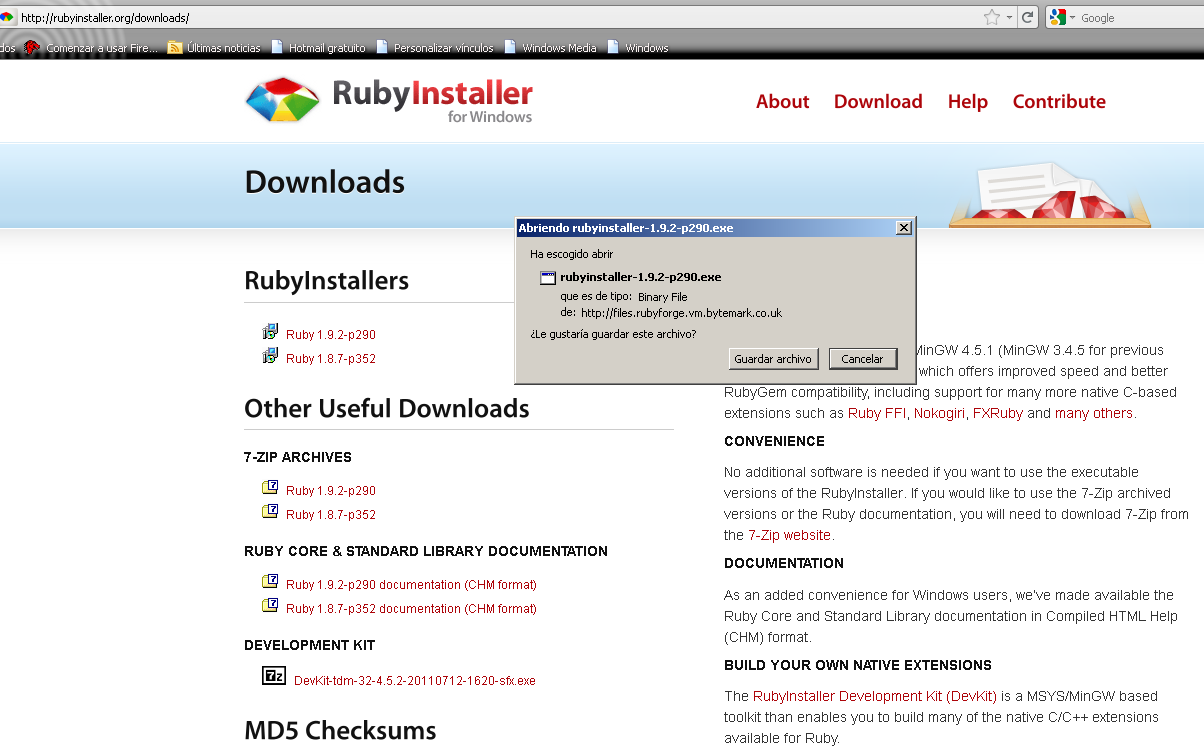
You can check the hashes in Windows using a tool like for example Hash Tab (which adds a tab to the file properties showing you the hashes).
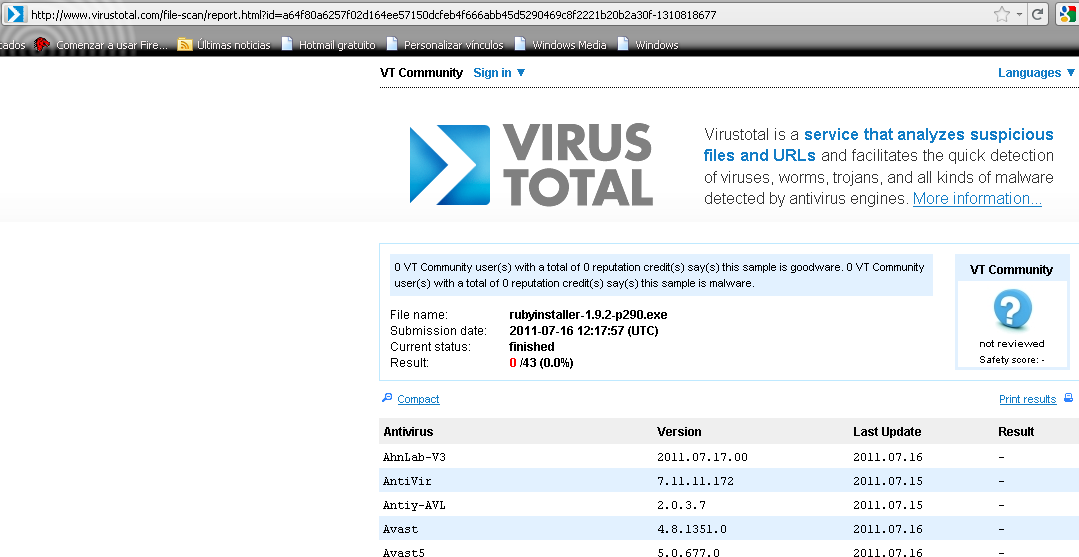
In addition to verifying the hashes, before you run any executable you download from the internet it is a good approach to run it through Virus Total first. This will scan the executable with more than 40 antivirus engines. This is however not a guarantee that the program is not malicious and can in fact be bypassed (using msfencode, for example). When no antivirus engine finds a problem with the downloaded file that provides you with a higher degree of confidence that the file is hopefully safe.
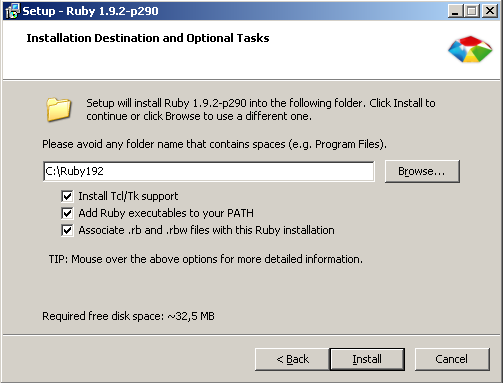
Once we are happy with the file hashes and the virus analysis we can move on and install this program. These steps are skipped later on other executables for brevity. I installed Ruby ticking all the boxes:
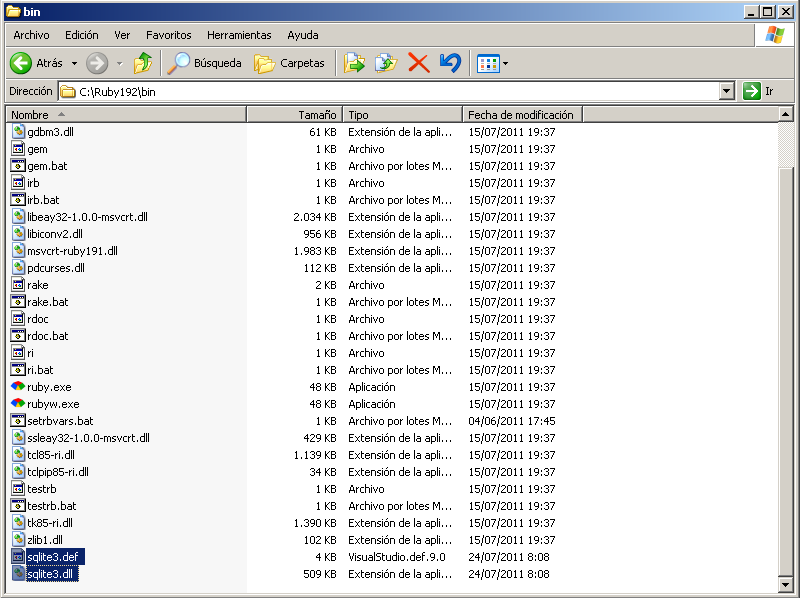
After installing Ruby, you need to download the SQLite dll from this URL.
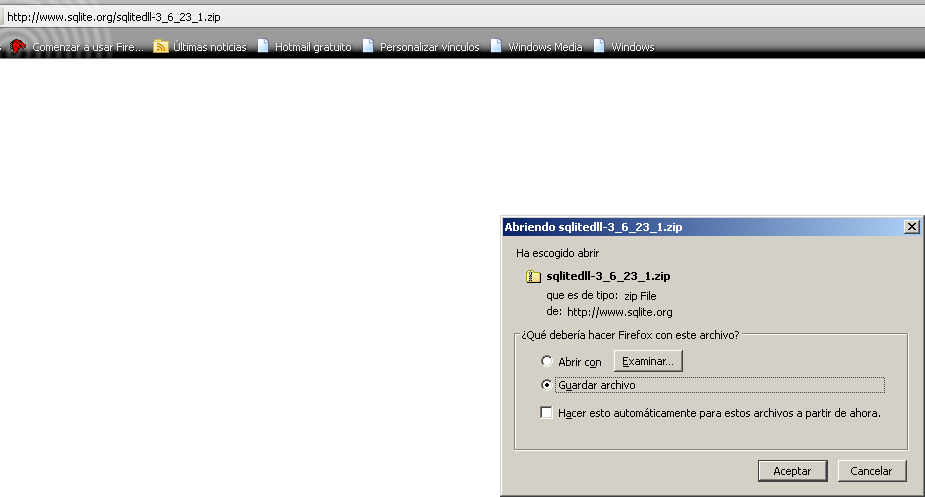
Now extract the SQLite zip file on the Ruby192bin folder:
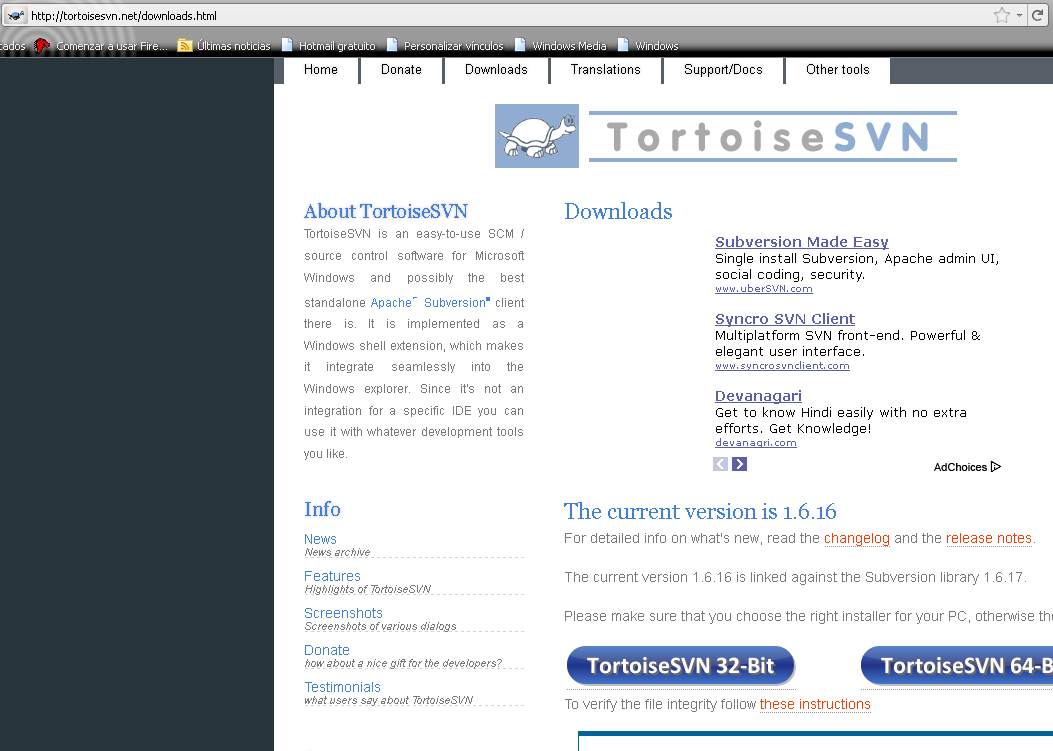
Unless you have it handy we will also need to download and install a good SVN client for windows like for example Tortoise SVN:
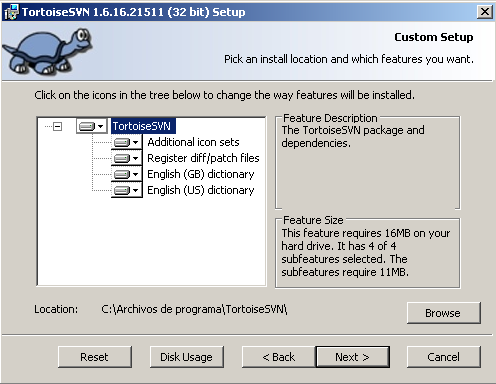
I marked everything as "install all the features in the local drive" during setup (although this is obviously not necessary, depends on what else you plan to do with SVN):
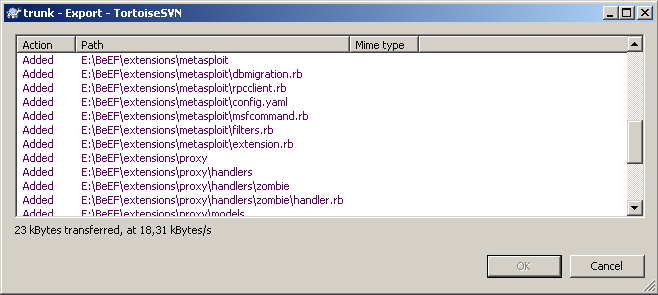
You will have to reboot your system after installing Tortoise SVN. Once you reboot you can get the latest BeEF version by performing an SVN export (right click on a blank space in the BeEF folder / Tortoise SVN / Export):

That will present you the following screen, where you can put in the BeEF trunk

When you click OK you should see something like this (files are copied from the SVN URL to your hard drive):
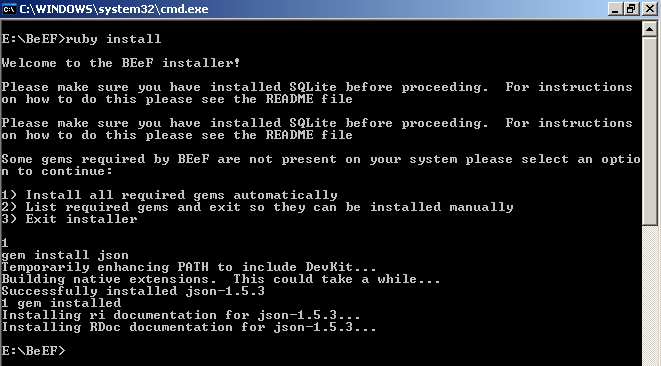
Now, using the windows command line (I like start / run / type: cmd + Enter) you just need to do ruby install on the BeEF installation folder, in this example E:BeEF. You can choose the option to install ruby gems automatically or manually:
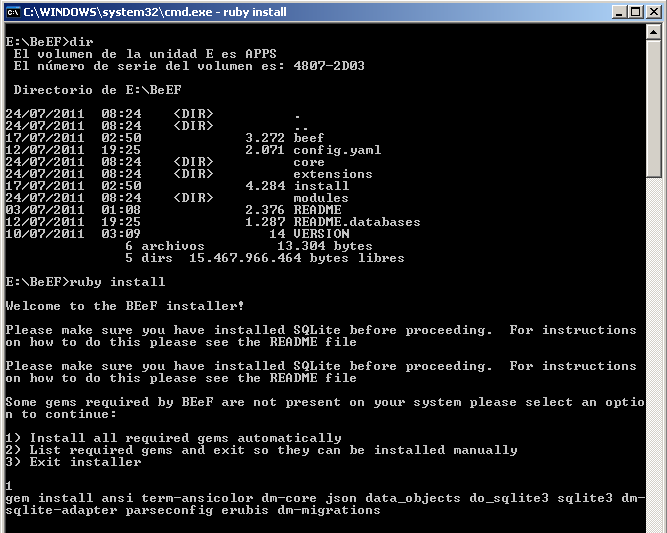
If the gems installation goes ok, you should see something like this:

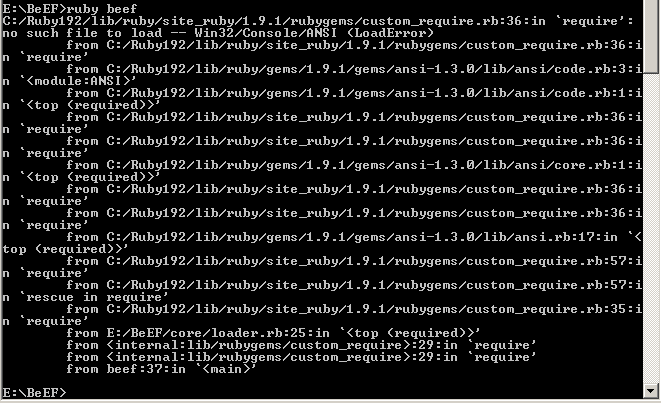
But you might get a missing win32 console gem error too:
no such file to load -- Win32/Console/ANSI (LoadError)
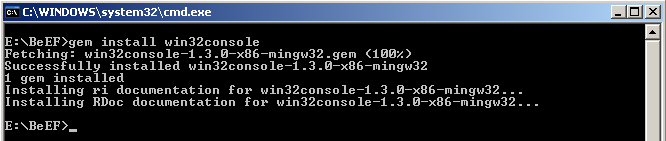
This error is easy to solve, just do gem install win32console:
You could also get this error (or similar "requires installed build tools" message):
The 'json' native gem requires installed build tools

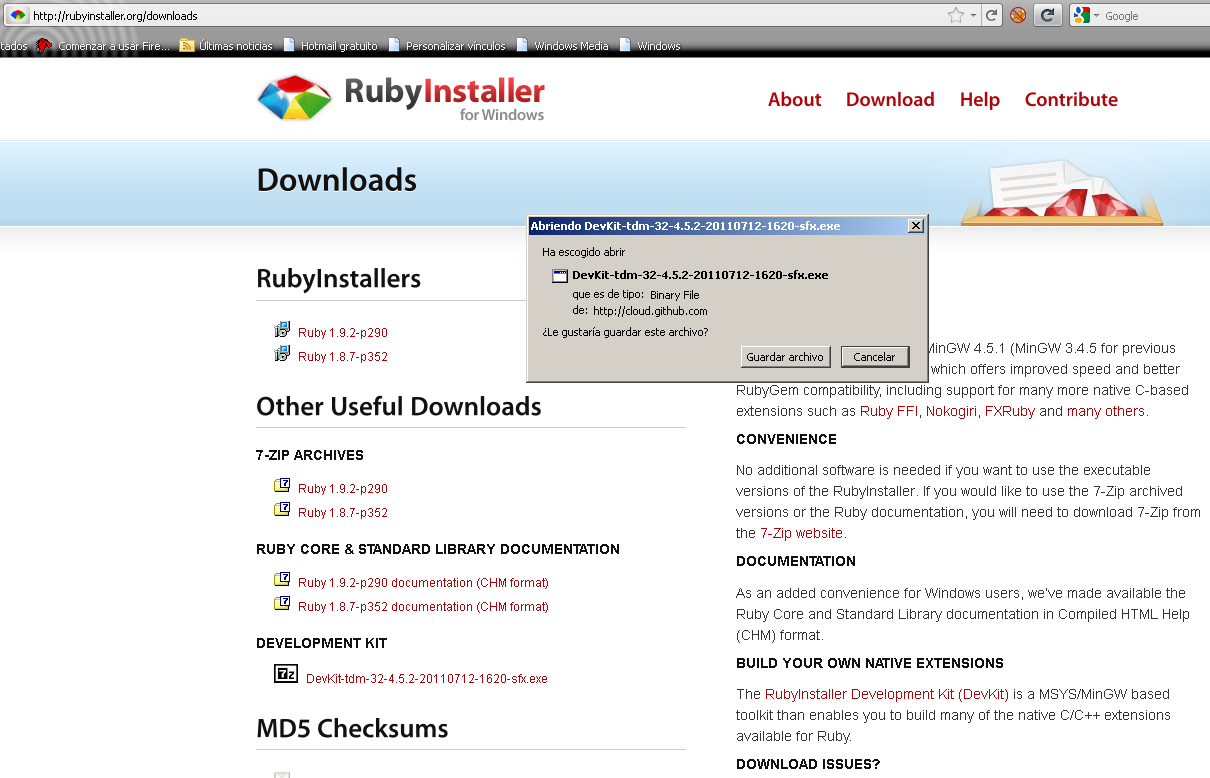
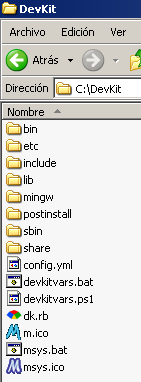
In this case we need to install the Development kit. You can donwload it from this URL. There are great instructions on how to install this kit Development Kit (What comes next is the result of directly following the instructions in the development kit wiki). First we need to download it:
Now we need to run "ruby dk.rb init" to generate the "config.yml" file to be used later:
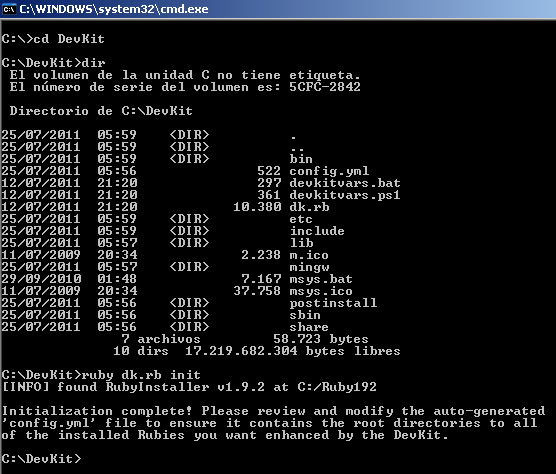
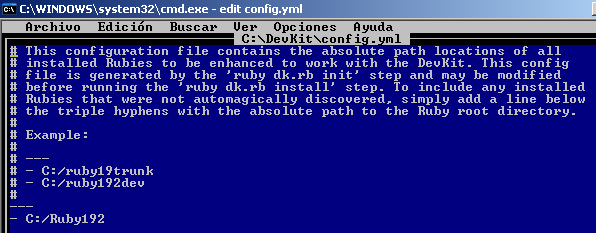
We can open the file to make sure that it found where Ruby was installed:
Now a few other steps:
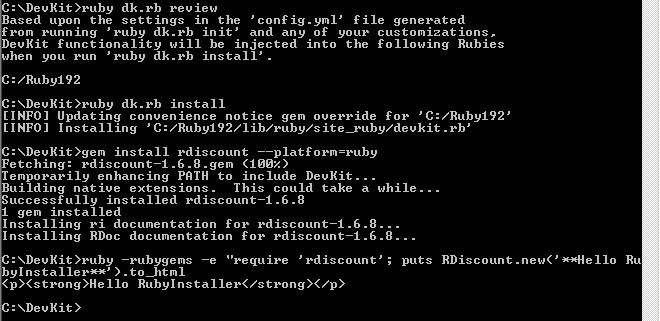
- ruby dk.rb review (checks things are ok)
- ruby dk.rb install (creates DevKit hooks)
- gem install rdiscount --platform=ruby (you should see the message "Temporarily enhancing PATH to include DevKit...")
- ruby -rubygems -e "require 'rdiscount'; puts RDiscount.new('**Hello RubyInstaller**').to_html (just to check the gem was installed and works correctly)
Now that DevKit is installed we should have no problem to install that missing json gem:
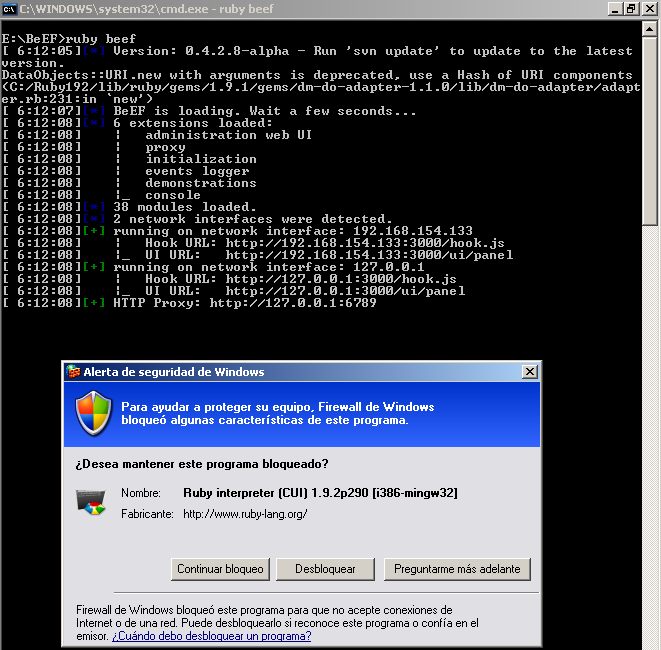
Now we can check the installation, just do "ruby beef" to start beef. Of course you will need your Windows Firewall to allow that application :).
Now, do not be lame and wonder what the password is by going to the GUI here: ui-panel
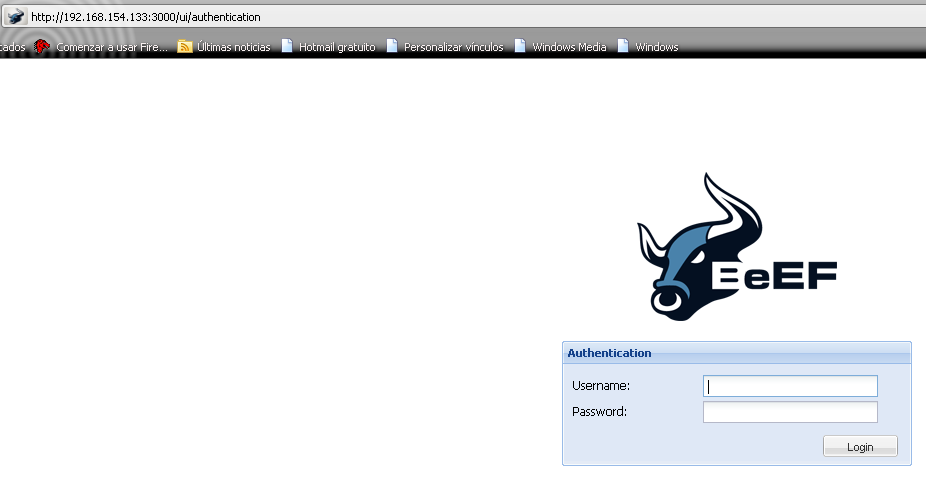
The password is in the configuration file at

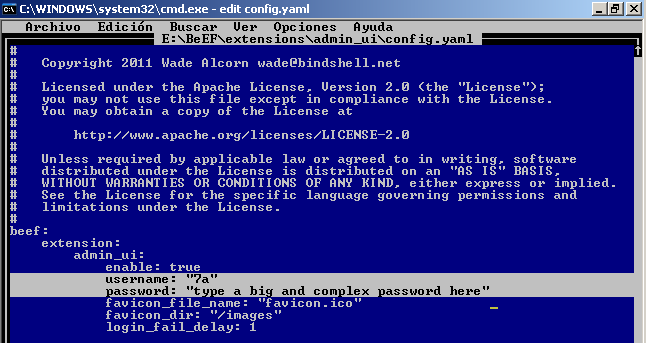
Therefore what you should do is to change those credentials and pick a different username and a very long and complex password:
After saving the file above. You will get the following error message when you try to login: "invalid username or password". This is due to the fact that when BeEF was loaded the previous configuration file was read so the old credentials are still in use:
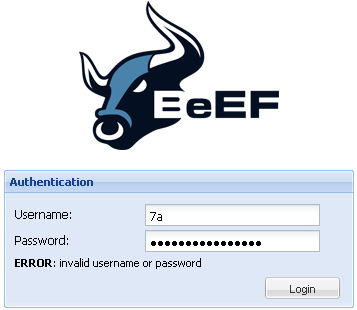
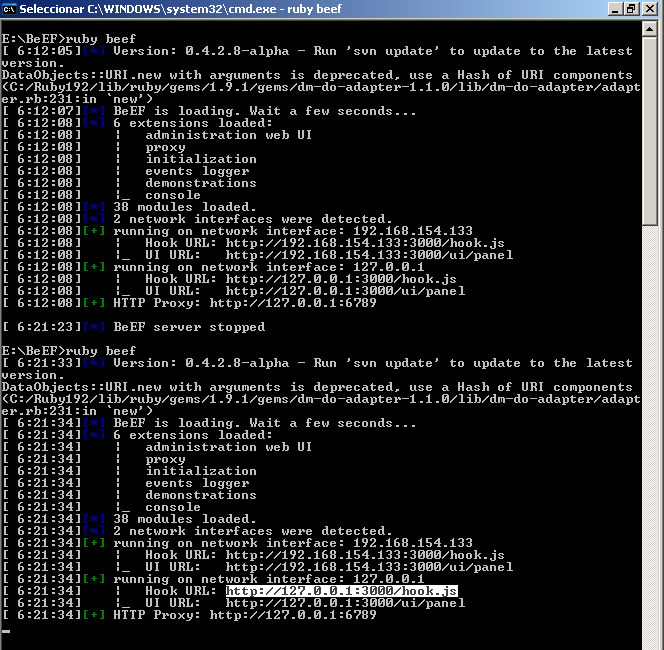
What we need to do here is to stop the BeEF server (via Control + C) and then start it again. That will make BeEF read the new configuration file so the new credentials will now be accepted:
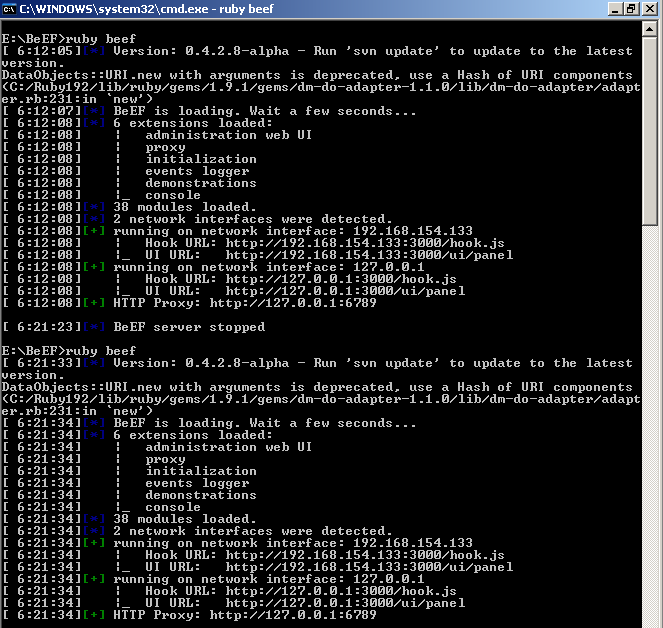
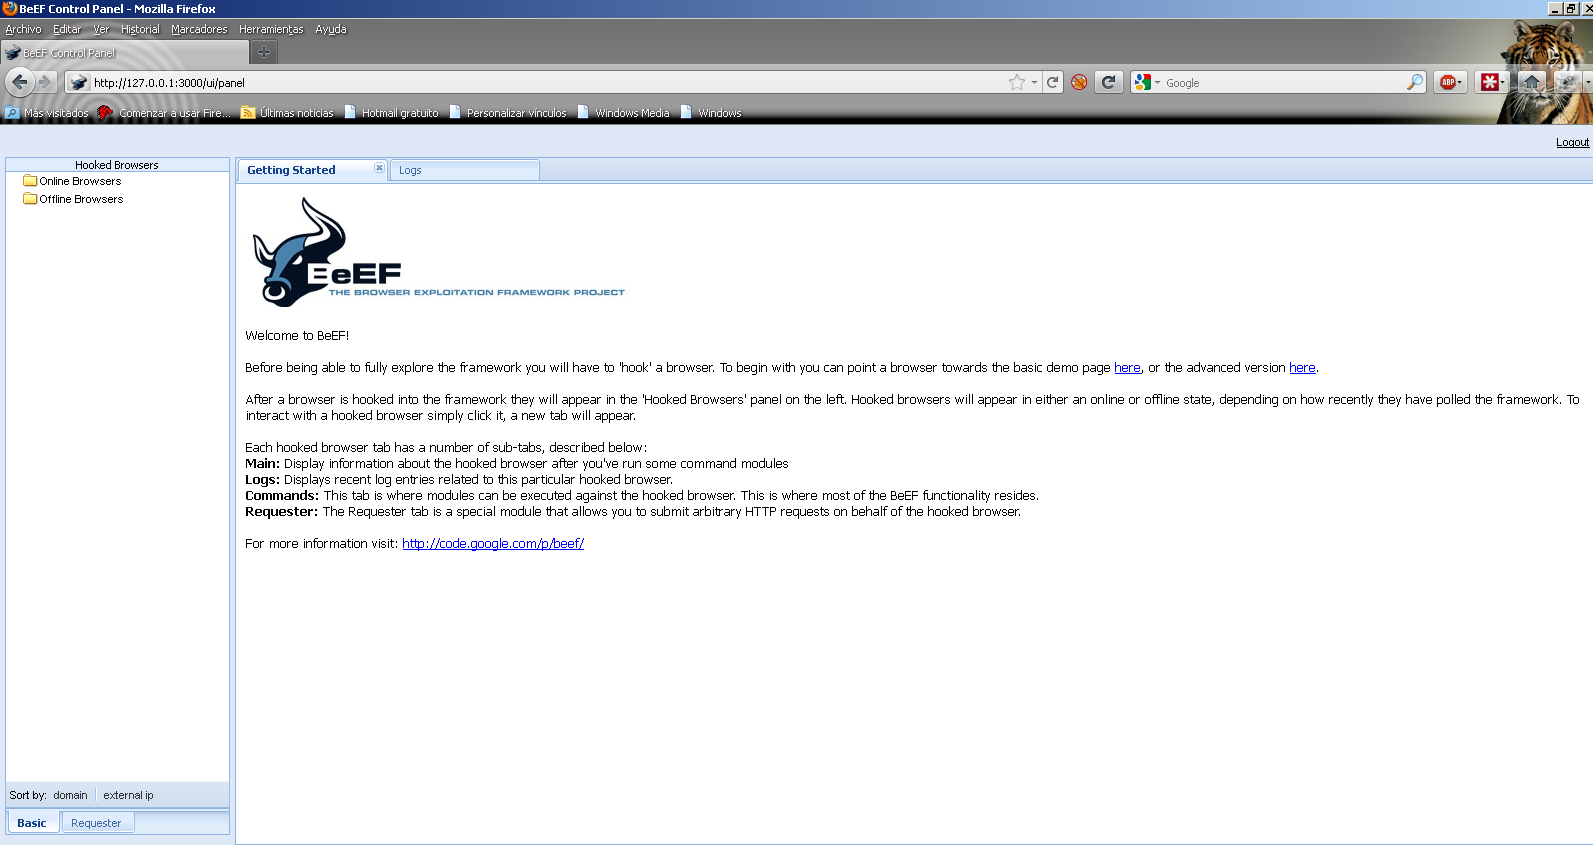
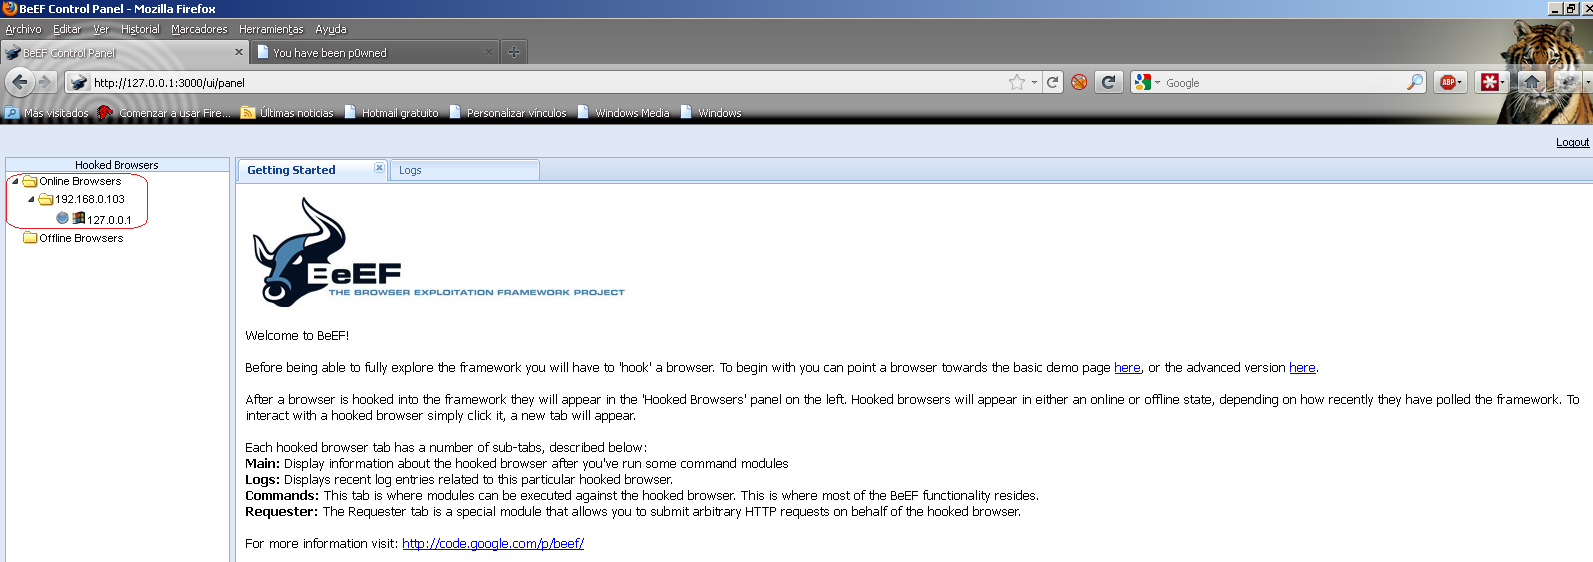
The credentials work this time and we are presented with the BeEF server home page:
How do we know if BeEF is working? We need some client browser to connect. Just copy the hook URL: http://127.0.0.1:3000/hook.js (works from the same computer)
Now you need a web server: a place where you can create a web page that contains a call to the JavaScript hook. You could also exploit an XSS vulnerability on an internet server to get around this but that will be covered later in the Red Meat Series :). In this example, we will use a typical Apache installation where a simple index.html file is created:

The most important bit from the screenshot above is the script part: It is only that part of the page that contains the hook to BeEF. That is the kind of JavaScript you would like to use to exploit an XSS vulnerability with BeEF.
When a user browses to this site, they are presented with a normal web page. In the background the script connects back to the BeEF server:

At this point the installation has been verified to be successful. Enjoy and do not be evil :).
